

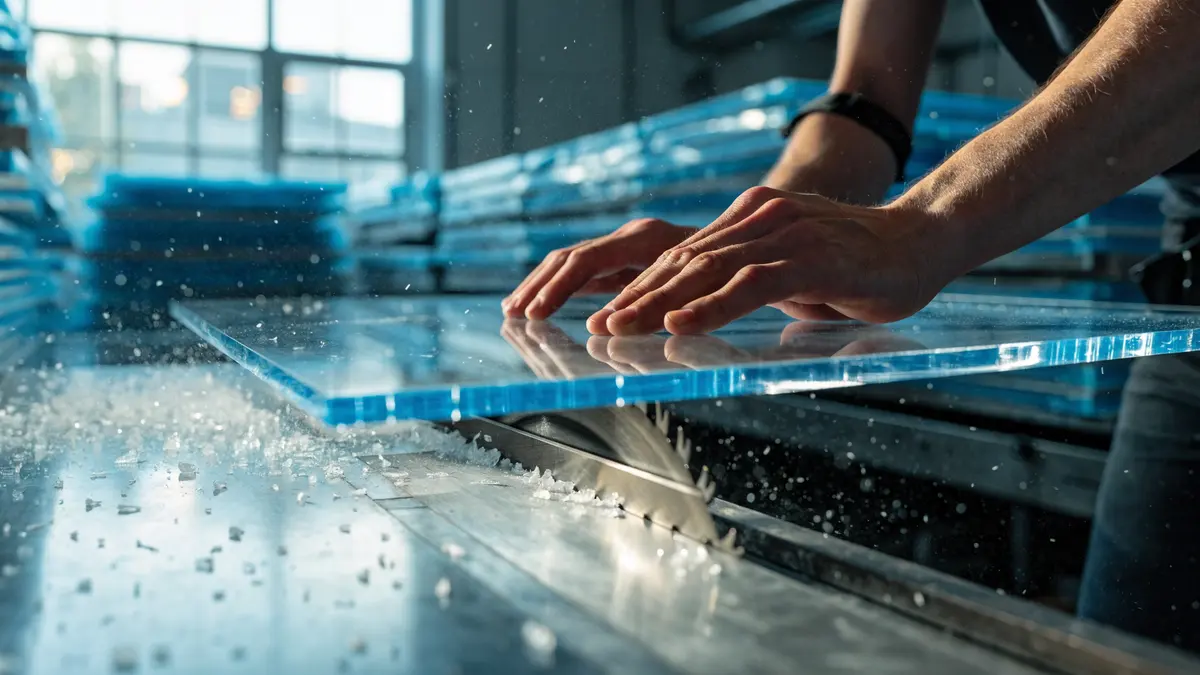
Every acrylic cut leaves two things behind. One is the edge, which you can see and judge in the first second. The other is stress, which you cannot see at all, and which decides whether the panel is still in one piece a month later. Almost every guide to how to cut plexiglass covers the first and ignores the second, and that is why so many careful cuts still end in a crack that appears to come from nowhere.
We cut acrylic every day at our North York warehouse, on a saw, a router and a laser, and the questions that reach us by phone are rarely about which tool to pick. They are about why a cut that looked perfect went wrong afterwards. So this guide follows the cause rather than the toolbox.
Key takeaways:
- Acrylic is a thermoplastic, so heat at the kerf is the single variable behind chipping, melting and a fused cut. Feeding too slowly causes more damage than feeding too fast.
- Cast and extruded sheet do not machine the same. Cast holds its shape to 95°C, extruded softens at 80°C, and that 15 degree gap is why the same blade behaves differently on two clear sheets.
- Blade tooth count is the wrong thing to copy. The manufacturer specifies a 9 to 15mm tooth pitch, which works out to a different tooth count on every blade diameter.
- A standard twist drill is ground to 118 degrees. Acrylic wants 60 to 90 degrees, which is why hardware-store bits crack sheets at breakthrough.
- Sawing, routing, drilling and sanding all leave tensile stress. Stress plus a solvent equals crazing, and that is the crack that turns up weeks after the job.
The two things every cut leaves behind
Acrylic is polymethyl methacrylate, a thermoplastic that softens rather than burns. That single property explains most of what goes wrong. A blade moving through the sheet generates friction, friction generates heat, and if the heat outruns the rate at which chips carry it away, the material at the kerf reaches its softening point. The blade stops cutting and starts stirring. Boiled all the way down, how to cut plexiglass well is a question about keeping heat out of the kerf, and every rule below is one way of doing that.
This is why the most common piece of DIY advice, go slowly and be careful, produces the worst result. The machining guideline Polyvantis publishes for PLEXIGLAS puts it directly: the feed of the saw must be set so as to prevent chipping at the cut edge, and if the feed rate is too low, this may result in friction and thus unwanted heat buildup at the cut edges. A timid feed is a melting feed.
The second thing the cut leaves is invisible. The same guideline lists the operations that put tensile stress into acrylic, and the list is essentially everything a shop does to a sheet: sawing, milling, turning and sanding, deformation during fastening through clamping, drilling or a screw union, and localised overheating from incorrectly ground tools or from polishing. Stress by itself does no harm. It sits in the material and waits.
What it waits for is a solvent. Crazing, the network of fine cracks that appears in a stressed area, needs tensile stress and a corrosive medium present at the same time. The mediums are ordinary workshop materials: thinners during bonding or painting, monomer vapours from laser cutting or flame polishing, plasticisers migrating out of PVC insulation, sealants, films and aggressive cleaning agents. Cut a panel, bond it, clean it with the wrong product, and the failure that shows up later was set in motion by the blade.
Cast or extruded: the sheet decides before the tool does
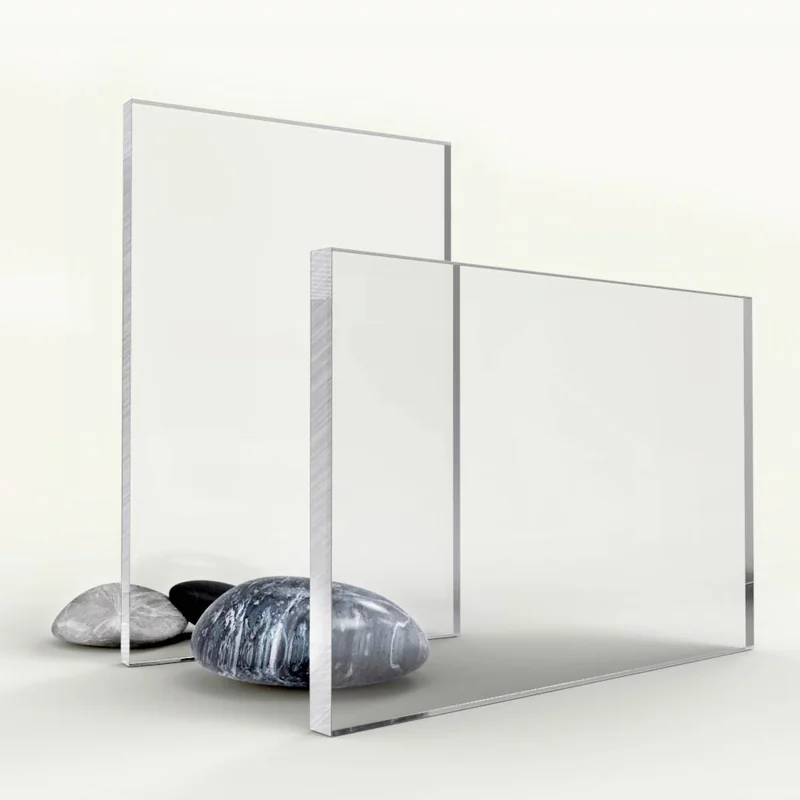
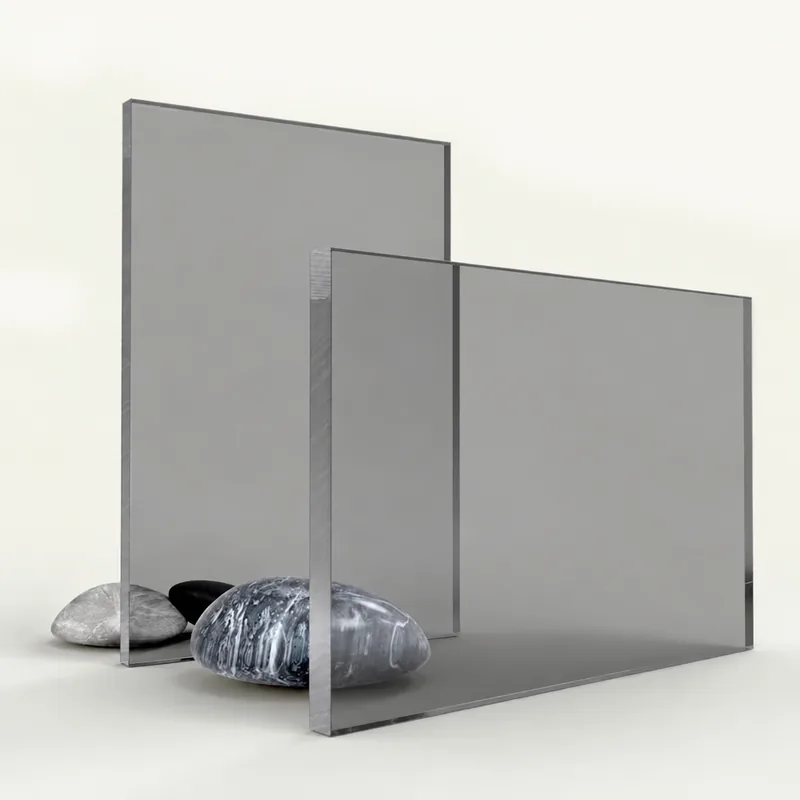
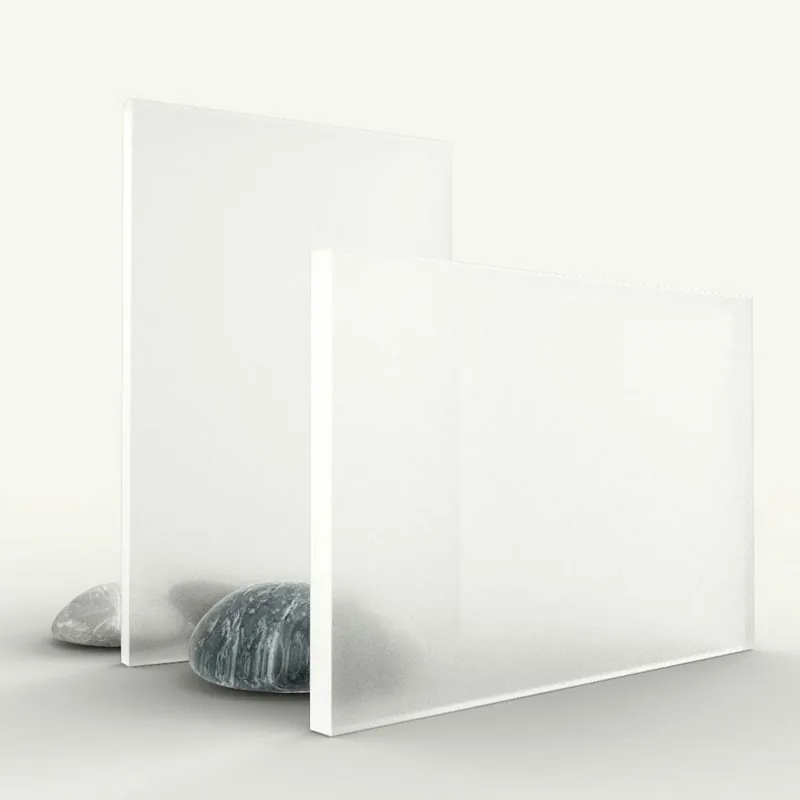
Two clear acrylic sheets that look identical on the rack machine differently, and knowing which one is on your bench changes the settings before you touch a tool.
| Cast acrylic | Extruded acrylic | |
|---|---|---|
| Heat deflection | 95°C | 80°C |
| Behaviour under the blade | Chips cleanly, tolerates heat | Softens sooner, more prone to gumming |
| Cost, 4x8 clear at 3mm or nearest | $80.27 CAD at 2.8mm | $77.78 CAD at 3mm |
The 15 degree gap in heat deflection is the practical difference. Extruded sheet reaches its softening point sooner, so the feed rate that gives a clean edge on cast will start to weld the kerf on extruded. The guideline's own instruction for jigsawing reflects this, calling for extruded PLEXIGLAS XT to be cooled with water or compressed air from 3mm thickness onwards, a step it does not require for cast at the same gauge.
Thickness matters for a different reason. Cast sheet is made to a published tolerance band, and Hsin Hwa, where all our cast acrylic comes from, publishes a band of 8 percent of nominal from 2.8mm to 15mm: plus or minus 0.22mm at 2.8mm and 0.96mm at 12mm. A stack of sheet clamped for a gang cut can add those up, so measure the stack rather than trusting the sum. The story of where our cast sheet is made has the full table. For a project where the finished dimension matters more than the sheet cost, start with cast clear acrylic rather than extruded.
One naming note that saves confusion when you go looking for the source material. The same PMMA sheet sells as PLEXIGLAS in Europe and Asia and as ACRYLITE in the Americas, both trademarks owned by Röhm GmbH, with the sheet itself made by Polyvantis. The machining data is the same document either way, so a guideline written for PLEXIGLAS applies directly to the acrylic on a Canadian bench.
One more sheet-level warning. Impact-modified acrylic, sold as PLEXIGLAS Resist and similar grades, cannot be scored and snapped at all. It is too tough to fracture along a line, which is the whole point of buying it.
How to cut plexiglass: five methods, ranked by the edge they leave
Most advice on how to cut plexiglass ranks the methods by how advanced the tool is. Rank them instead by what they leave behind, and the order changes. Score and snap, the method treated everywhere as the beginner's option, produces the lowest-stress edge of any of them.
| Method | Thickness | Edge you get | Stress left behind | Finishing needed |
|---|---|---|---|---|
| Score and snap | Up to 3mm | Matte fracture face, needs deburring | Very little, no annealing required | Scraper along the edge |
| Circular or table saw | 3mm and up | Clean if the blade is right, chipped if not | Yes, sawing is on the stress list | Deburr, then sand if it shows |
| Jigsaw | Curves, cutouts | Roughest of the powered methods | Yes, plus heat if the feed stalls | Sand or file |
| Router | 3mm and up | Best mechanical edge, near ready to polish | Yes, milling is on the stress list | Light sand or straight to buffing |
| CO2 laser | Up to the machine's cap | Glossy, flame-polished off the machine | Concentrated at the cut face | None visually, but anneal before bonding |
Score and snap earns its place on physics rather than on convenience. The guideline notes that in contrast to sawing and routing, scoring and breaking generates little internal stress in the surfaces of fracture, which need not be annealed. For thin sheet that is about to be bonded, this is the safest cut available, not the crudest. The companion workshop practice tips sheet covers the scoring and breaking sequence step by step.
At the other end, a laser edge looks finished and is not. The same guideline warns that stress generated in the immediate vicinity of laser cut edges may have to be relieved by subsequent annealing in order to eliminate the risk of crazing. Our laser cutting guide for acrylic covers settings and cast versus extruded results in detail. If you are cutting polycarbonate rather than acrylic, none of this transfers, and our guide to cutting polycarbonate sheets explains why the two materials behave in opposite ways.
Not sure which method your part needs?
Send us the drawing and the material. We will tell you whether it wants a saw, the router or the laser, and what each one would cost from our North York shop.
Get a free quoteThe blade nobody sells you
Ask the internet how many teeth an acrylic blade needs and you get a number. Eighty is the usual answer. The number is the wrong unit, because the thing that governs the cut is tooth pitch, the distance from one tooth to the next around the rim, and the same pitch means a different tooth count on every blade diameter.
The guideline specifies a tooth pitch of 9 to 15mm, and after test series settled on about 13mm as the pitch ideally suited to the material. Its worked example is a 300mm blade with 72 teeth, which is a 13.1mm pitch. Run that pitch back across the blade sizes a Canadian shop actually owns and the picture below is what you get.
Shaded band is a 9 to 15mm tooth pitch. The mark is the 13mm pitch.
Tooth pitch range and the 13mm optimum from the Polyvantis Machining PLEXIGLAS guideline (Ref. 311-1). Tooth counts computed as pi x blade diameter divided by pitch; the same arithmetic reproduces the guideline's own 300mm, 72-tooth example exactly. Stock blade markers are the 24, 40 and 60-tooth tiers sold for 7 1/4 inch circular saws.
The 7 1/4 inch row is the one worth sitting with. Blades in that size sell in three standard tiers, 24-tooth framing, 40-tooth finish and 60-tooth fine finish, and only the last two reach into the acrylic window at all. The 24-tooth framing blade, which is the blade most circular saws ship with and the one already mounted when somebody decides to cut a sheet of plexiglass, is nowhere near it.
Pitch is not the only geometry that matters, and this is where a wood blade fails even at the right tooth count:
- Rake angle. PLEXIGLAS wants a clearance angle of 10 to 15 degrees and a rake angle at the neutral end, illustrated in the guideline at 0 to +5 degrees. A wood blade's aggressively positive rake makes each tooth take a bite rather than scrape a chip, and the sheet chips where the tooth exits.
- Unset teeth. The guideline is unambiguous that only unset circular saw blades should be used, because that is the only way to get smooth, clean cut edges. Most wood blades are side-set to clear the kerf.
- Tooth shape. The optimised blade in the guideline uses a trapezoidal flat tooth, which scrapes flat across the kerf rather than pointing into it.
- A fresh tool. Blunt tools cause burred edges, chipping and material stress, and tools previously used on wood or metal should not be employed for plastics.
Get the blade right and most of how to cut plexiglass without chipping it is already handled. Set it so it protrudes only slightly above the sheet, keep the feed steady, and let it reach full speed before it touches the material.
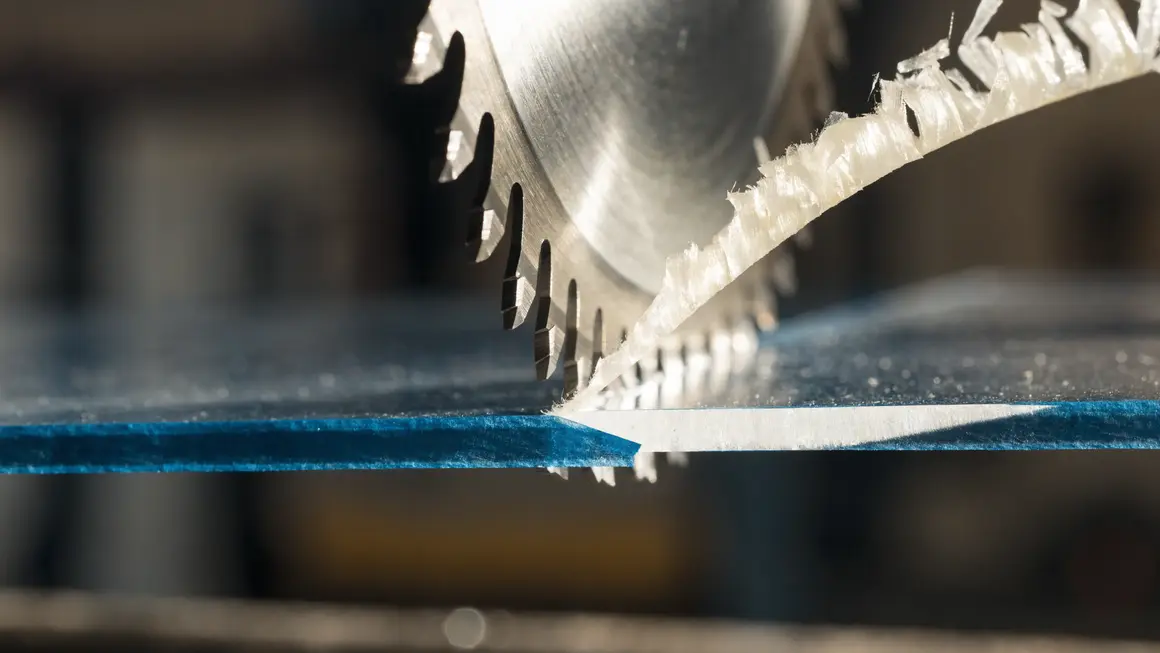 A steady feed throws chips. A slow feed makes dust, then heat, then a welded kerf.
Drilling is where sheets actually crack
More acrylic is ruined at the drill press than at the saw, and the reason is a single number nobody thinks to check.
A general-purpose twist drill is ground to a 118 degree point angle. That is the figure the Metal Cutting Tool Institute standardised for general drilling, and it is what almost every bit in a Canadian hardware store carries, as Modern Machine Shop's drill point geometry primer sets out. Acrylic wants something much sharper.
| Geometry | Standard twist drill | PLEXIGLAS specification |
|---|---|---|
| Point angle | 118° | 60° to 90° |
| Rake angle | Positive, ground for metal | 0° to 4° |
| Clearance angle | Varies with diameter | 3° to 8° |
| Cutting speed | Material dependent | 10 to 60 m/min |
At 118 degrees the bit is too blunt to scrape and too aggressive to ease through. Through most of the hole it behaves, then it reaches the last fraction of a millimetre, the remaining material can no longer resist the axial pull, and the bit grabs and snatches through. That is the moment the star-shaped crack forms around the hole. The guideline's instruction is that commercially available twist drills for metal must be suitably reground before being used on acrylic.
Four habits prevent nearly all of it. Back the sheet with a piece of scrap so there is material behind the breakthrough. Ease the pressure off in the last millimetre. Predrill the corners of any cutout before you jigsaw it, which the guideline calls for specifically to avoid notch effects and possible breakage of the workpiece. And drill any fastener hole oversize, because acrylic expands 0.07mm per metre per degree C and a bolt through a tight hole is a clamp waiting for a cold snap.
Getting to a clear edge, and what that costs
A sawn edge is matte. Getting it to optical clarity is hand work, and this is the part of the job that decides whether cutting acrylic yourself was actually the cheap option.
Sanding runs in three steps: coarse at 60 grit, medium at 220, then fine at 400 to 600, with every trace of the previous grit removed before moving on. Wet sanding is recommended throughout, both to stop the abrasive clogging and to avoid generating thermal stress in the workpiece. On a machine, the workpiece is moved lightly and never pressed hard or held in one place, because the frictional heat causes stress buildup and surface damage even when wet.
Then polishing, and the manufacturer's own comparison of the methods is more honest than most shop advice:
| Method | Surface quality | Stress level | Time | Investment |
|---|---|---|---|---|
| Classic: wet sanding plus buffing wheel or felt belt | Excellent | Average | High to very high | Average |
| Flame polishing | Moderate | Very high | Low | High |
| Diamond polishing and milling | Good to excellent | Average | Low | Very high |
| Care polishing with cream | Excellent | Low | Low to high | Low |
Flame polishing is the one to think twice about. It is fast and it is cheap in time, and it rates only moderate on quality while putting a very high level of stress into the very edge you are about to bond or fasten. We offer it as a finishing option because for plenty of parts it is exactly right, but it is a trade, not a free upgrade.
The honest summary of this section is that the cut takes a minute and the finish takes an hour. The manufacturer's own overview of cutting PLEXIGLAS is a useful sanity check before you commit a sheet.
Prefer to talk it through? Call us at +1 (416) 857-7555 for real answers from the warehouse floor.
The crack that shows up three weeks later
Put the two halves together and the failure mode makes sense. The blade or the bit or the sanding belt leaves tensile stress in the edge. Then the part meets a solvent, and the stressed region crazes.
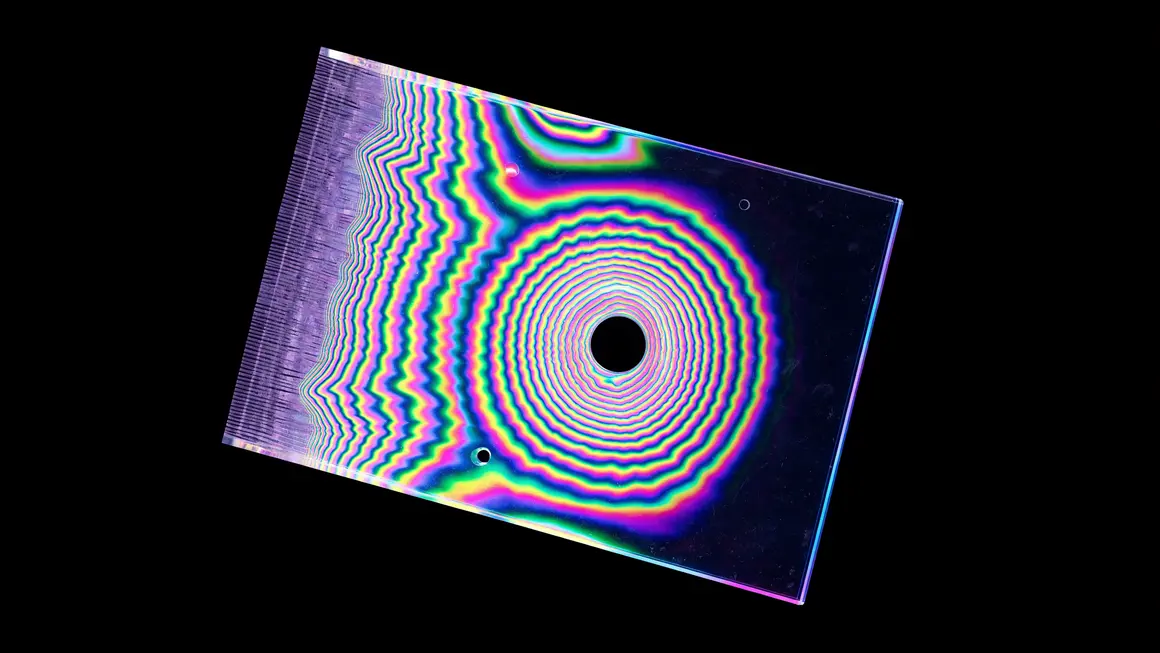 The invisible half of a cut, made visible. Acrylic is photoelastic, so under crossed polarising filters the stress left around a drilled hole and a sawn edge shows up as colour fringes.
The fix is stress-relief annealing, and it is a defined procedure rather than a guess:
- Temperature. 80°C for cast PLEXIGLAS GS, and 70 to 80°C for extruded XT, both below the softening point.
- Hold time. The sheet thickness in millimetres divided by three gives the annealing time in hours, with a minimum of two hours. A 6mm sheet holds for the two hour minimum; a 25mm sheet holds for over eight.
- Cooling. Thickness in millimetres divided by four gives the cooling time in hours, and the rate must not exceed 15°C per hour. Cooling too fast creates a stiff outer skin while the inside is still shrinking, which puts the stress straight back in.
- Removal. The part should be below 60°C before it comes out of the oven.
Most jobs never need this. It matters when a machined part is about to be solvent bonded, painted or put into service somewhere it will meet cleaning chemicals, and those are exactly the jobs where a crack found later is expensive. If a part is going to be bonded, anneal it first, or accept that the bond line is where it will craze.
When to stop cutting plexiglass yourself
Knowing how to cut plexiglass properly includes knowing when not to. Cutting your own sheet is genuinely cheaper on material, and for shop jigs, backing panels, rough blanks and anything that gets painted or hidden, it is the right call. Buy a full sheet, cut what you need, and keep the offcuts.
It stops being the right call at a predictable point, and the honest markers are these. When the part needs a finished edge, because sanding through three grits and buffing is slow. When the dimension has to be right, because our saw holds ±1.5mm and a hand-guided circular saw does not come close. When the part has curves or internal cutouts, because a jigsaw leaves the roughest edge of any powered method. And when the sheet is expensive enough that one ruined cut costs more than having the whole job cut properly, which on 12mm cast clear at $334.37 a sheet arrives sooner than people expect.
There is also a material argument that gets overlooked. Our saw runs a 4mm kerf and the laser runs a 1mm kerf, so on a part list with many pieces the laser simply gets more parts out of the same sheet. On a full 4x8 that difference compounds.
Rather than restate cut prices here, where they would go stale, our cut-to-size service page generates worked examples at render time from the same pricing engine that quotes at checkout, and the laser cutting page does the same for laser work, including the volume discounts that start at 50 pieces. Both show a rate card and the materials we hold. For anything larger or unusual, send it through our quote request form.
Where to buy acrylic sheet in Canada
We stock cast clear acrylic in twelve gauges at our North York warehouse, in the true 4x8 sheets described in our sheet sizes and thickness guide, with the full range set out in the complete guide to buying acrylic sheets in Canada.
| Thickness | Sheet size | Price (CAD) |
|---|---|---|
| 2mm | 4x8 ft | $61.97 |
| 2.8mm | 4x8 ft | $80.27 |
| 4.3mm | 4x8 ft | $128.67 |
| 5.5mm | 4x8 ft | $160.57 |
| 9mm | 4x8 ft | $249.67 |
| 12mm | 4x8 ft | $334.37 |
| 18mm | 4x8 ft | $550.97 |
| 25mm | 4x8 ft | $759.97 |
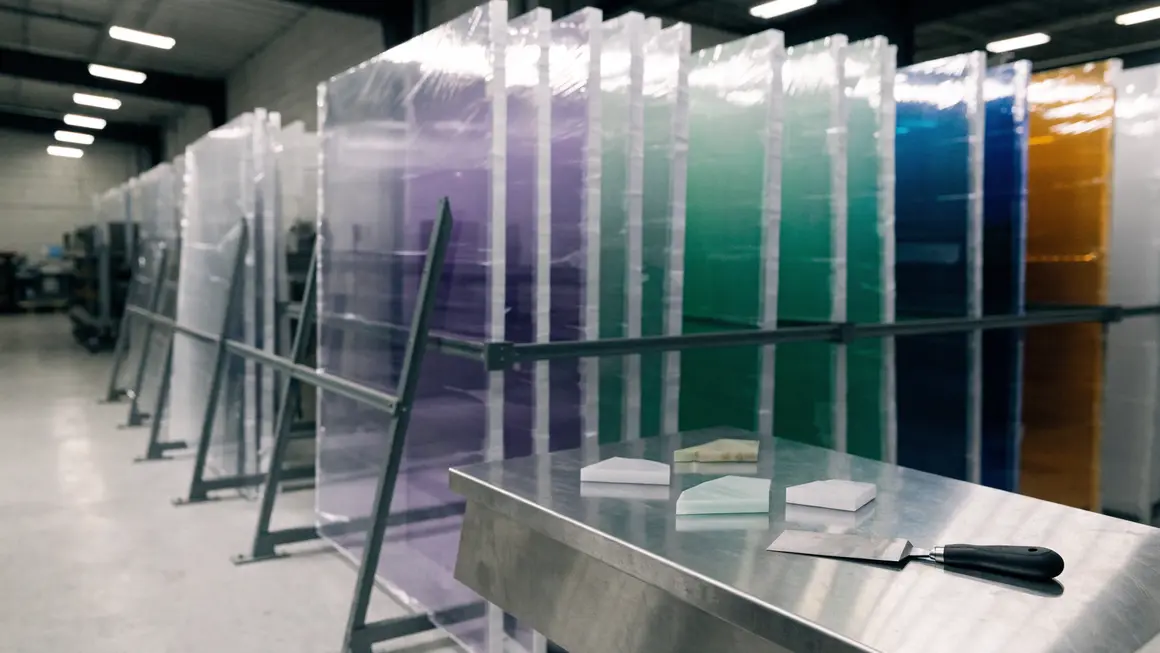 Leave the masking film on through cutting and drilling. It is the cheapest scratch protection you will ever get.
Sign shops and fabricators working through the fabrication and sign-making guides usually land on a mix: full sheets for the parts they will cut themselves, and cut-to-size for the faces that have to be exact. If you are choosing a substrate before you choose a cut, our sign board material guide works through the options job by job.
TORONTO WAREHOUSE Unit 29, 601 Magnetic Drive, North York, ON, M3J 3J2
Phone: +1 (416) 857-7555 Office: +1 (416) 726-2428 Email: info@fidarsystem.com
Frequently Asked Questions
Written by
Red Seal Fabricator · 15 yrs hands-on experience
James is a Red Seal certified fabricator with 15 years of practical experience cutting, shaping, and installing acrylic, PVC, and composite panels. He writes practical, tool-in-hand guides for sign shops, fabricators, and serious DIYers who want real answers from the shop floor.
Reader Reviews
Loading reviews…